To configure email to run for iOS on an iPhone or iPad, follow these steps.
Reminder: don't forget to create an email account first.
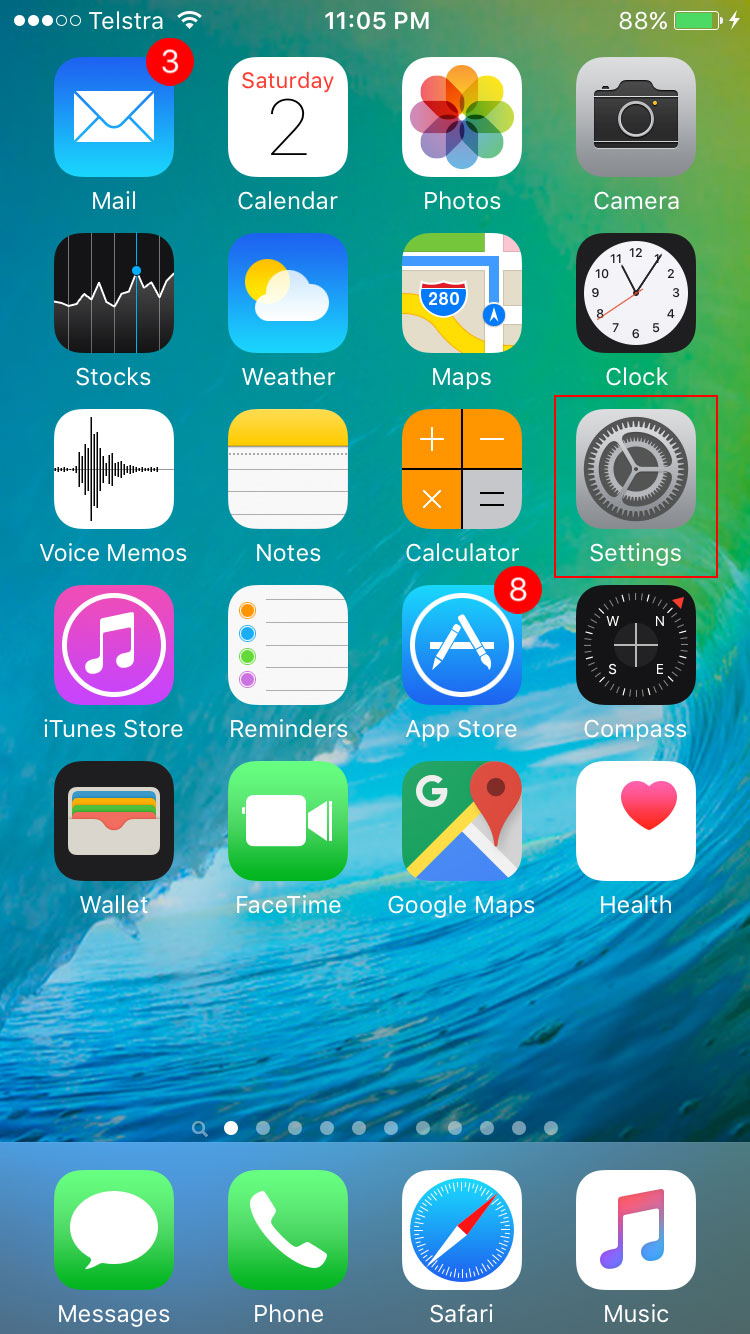
- Select the 'Settings' button on the Home screen.
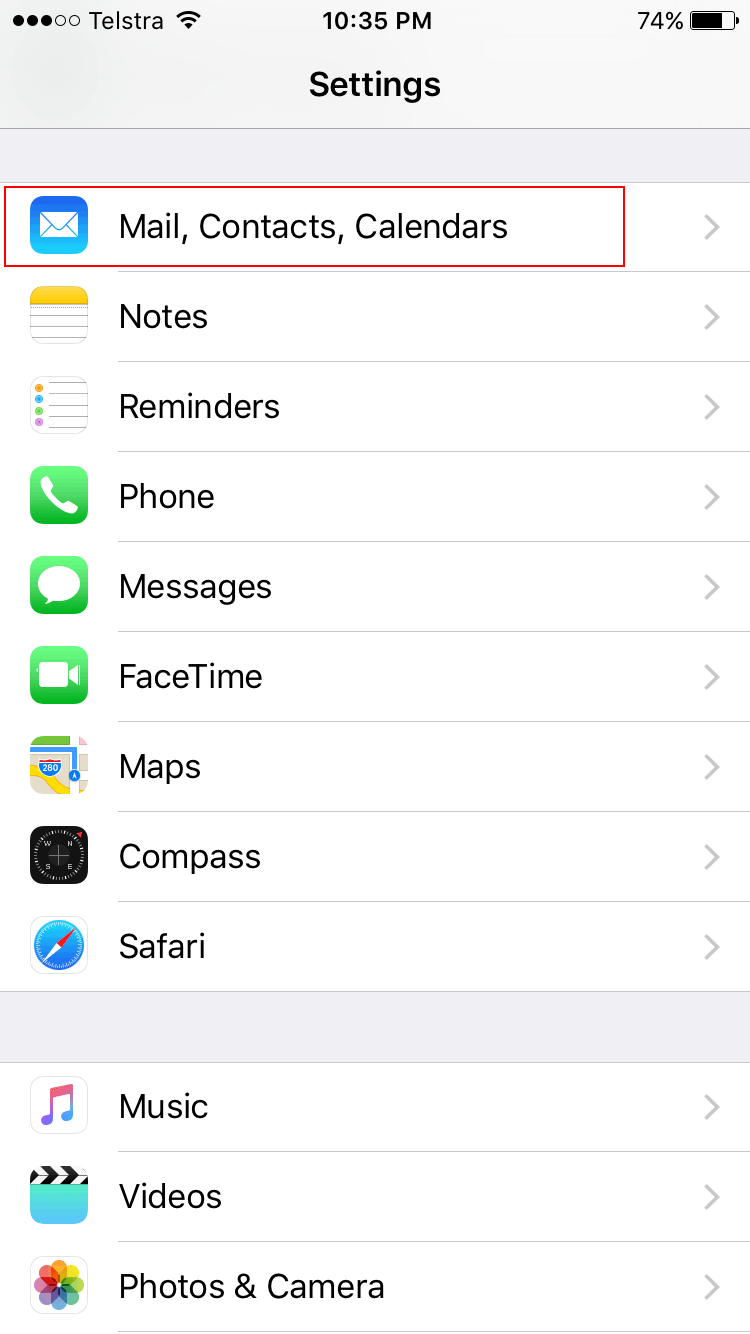
- Click on 'Mail, Contact, Calendars' in the Settings.
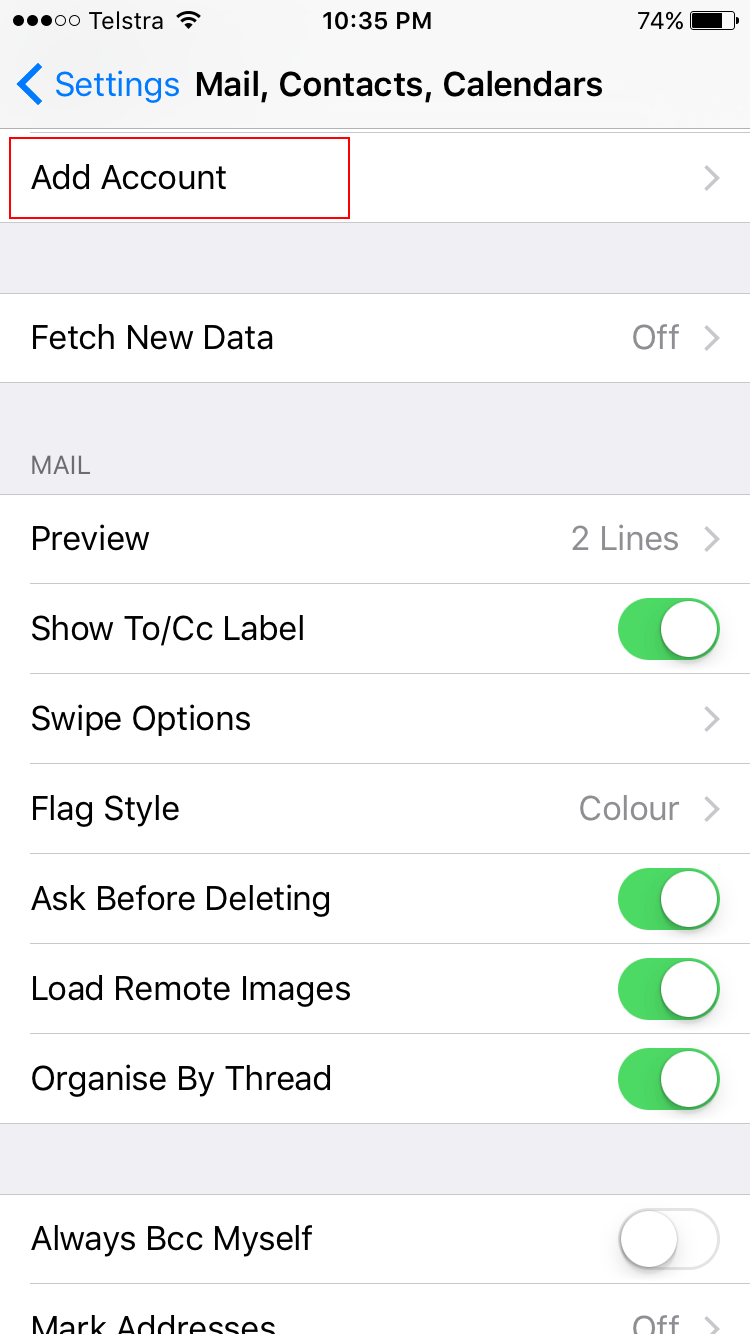
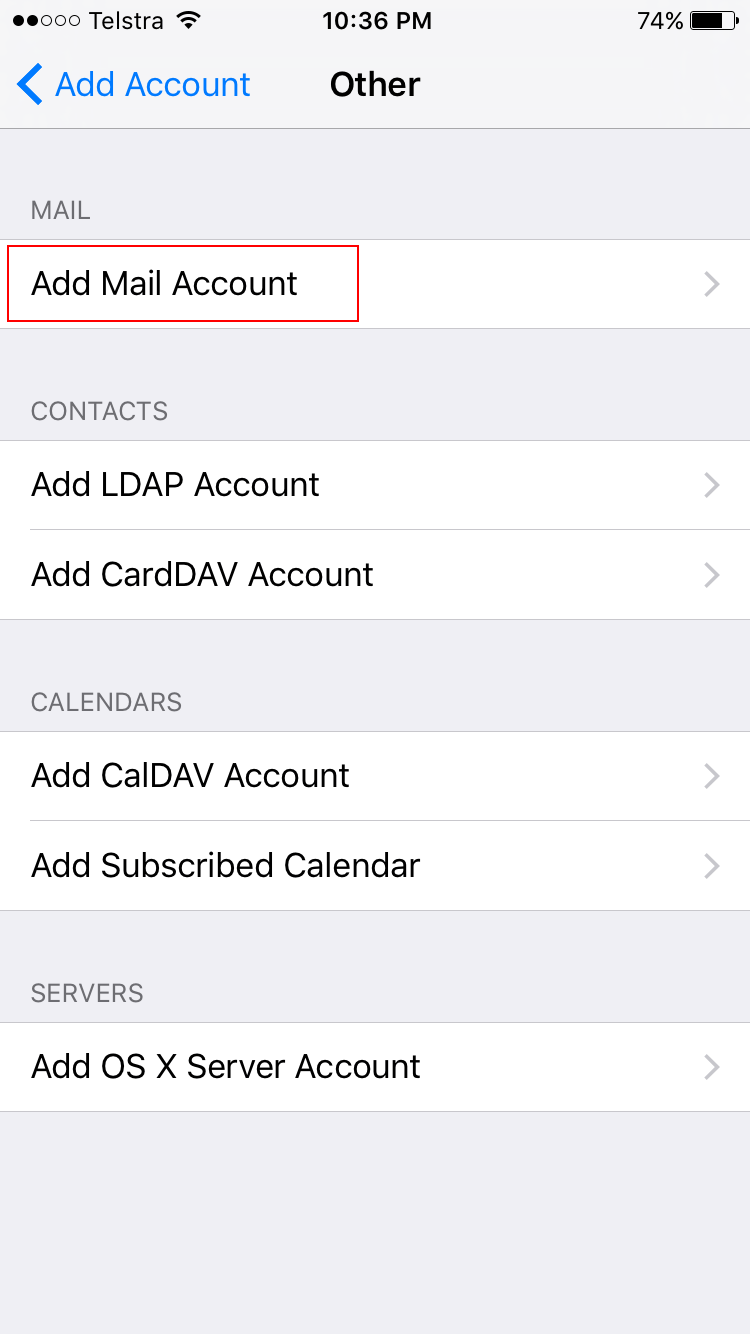
- Click on 'Add Account' in the Accounts section
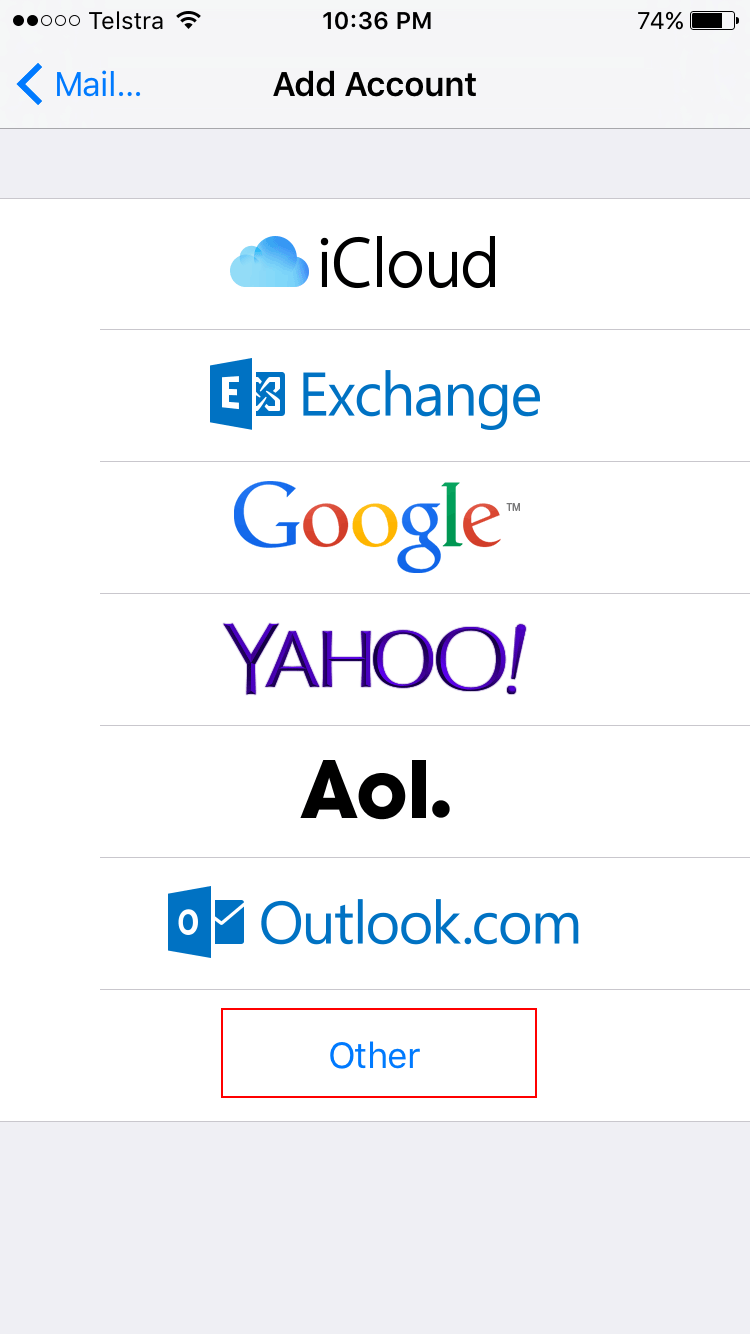
- Choose 'Other' as your email account type
- Select 'Add Mail Account' under the Mail section.
- On the New Account page, enter the following details:
Name: Your name (or business name)
Email: Your email address, eg. 'john@yourdomain.com'
Password: Password for the email account.
Description: Any description so that you know which account this is on your device.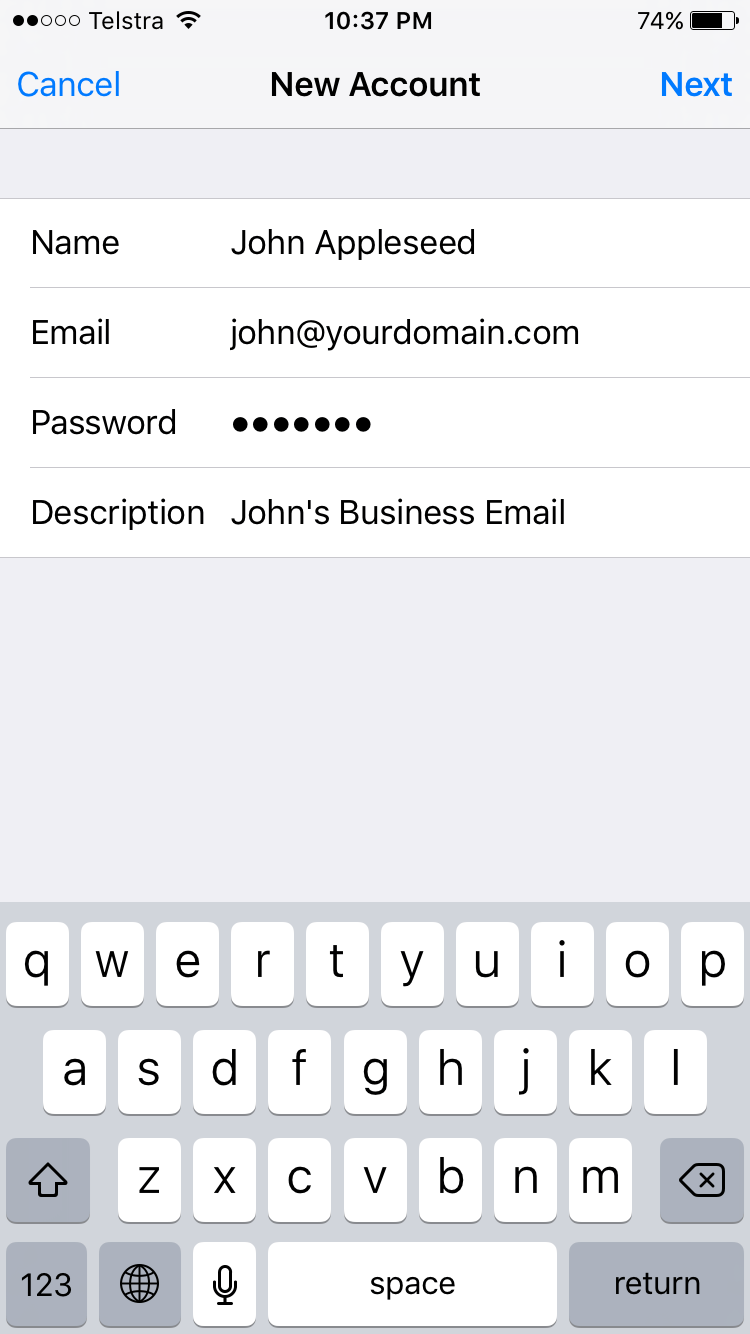
Then click 'Next'. - Then select 'POP' or 'IMAP' according to your preference. Both POP and IMAP are supported on ServerPeak servers. Click here to read about the difference between POP and IMAP. If you are unsure which one to select, choose POP.
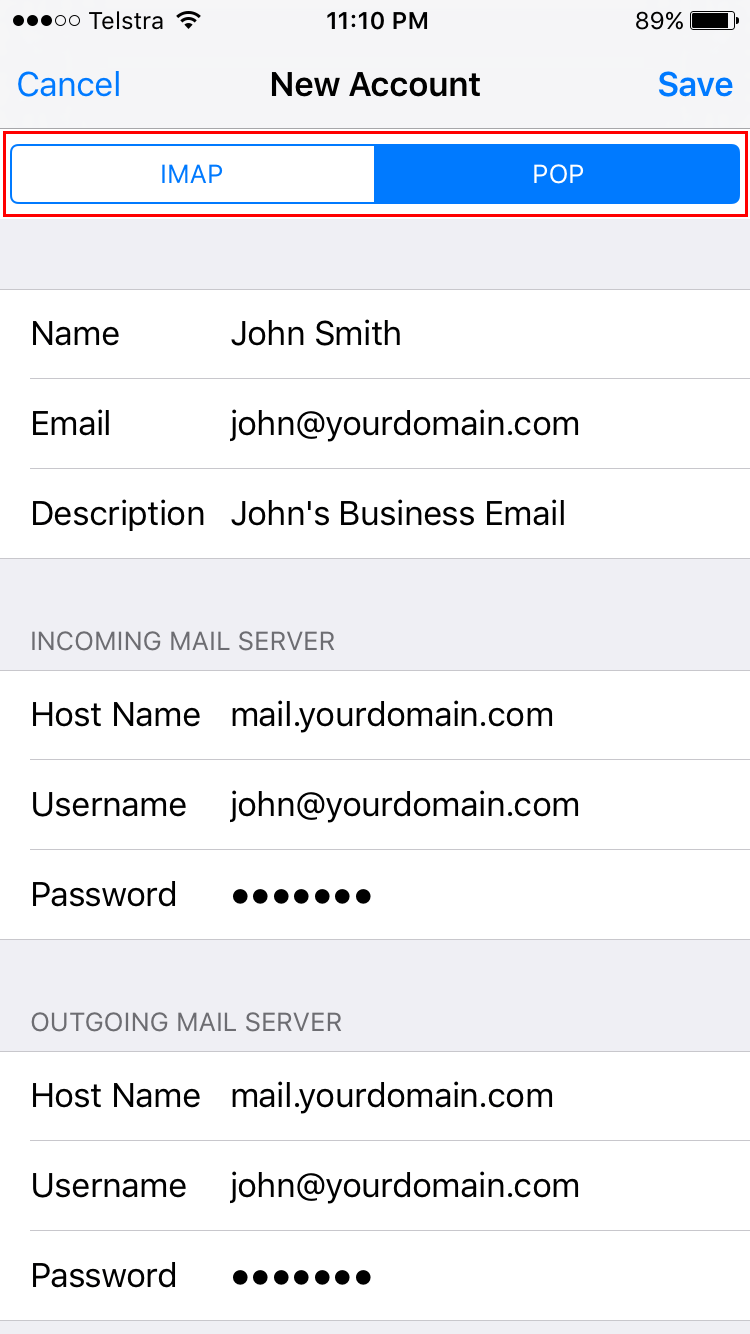
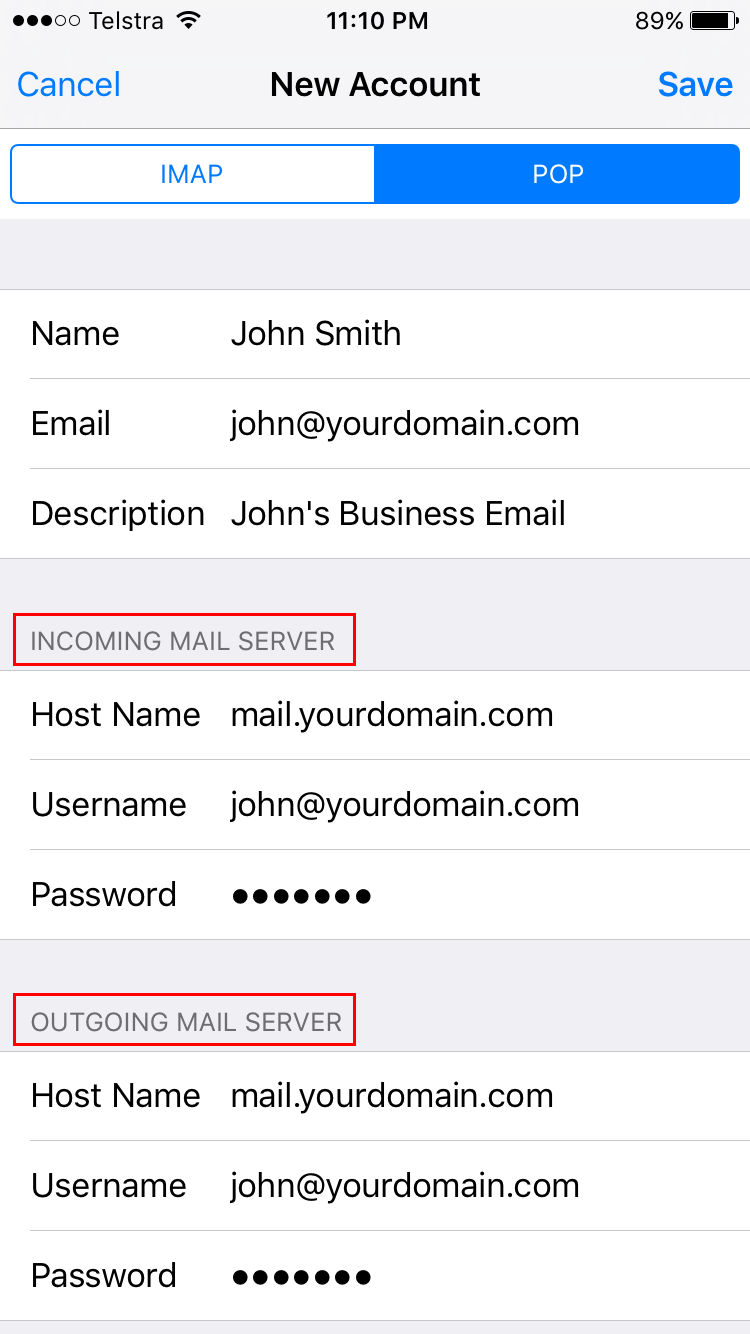
- After selecting POP or IMAP, scroll down and fill in the details for the 'Incoming Mail Server' and 'Outgoing Mail Server'.
Incoming Mail Server AND Outgoing Mail Server (same details for both)
Host Name: mail.yourdomain.com
Username: Your full email address, eg. john@yourdomain.com
Password: The password for your email address
- Tap on 'Save'
Your device will now try to verify the details entered. This process can take a while so be patient.
Note: You may get a warning saying 'Cannot Verify Server Identity'. Just tap on 'continue'. (this will happen if you are using a Self Signed SSL certificate, which is not a problem)
All Done! Now make sure everything is working by sending yourself an test email.